OpenFront Beginner Guide
Build a strong first match step by step: spawn, expansion, buildings, and first decisions.
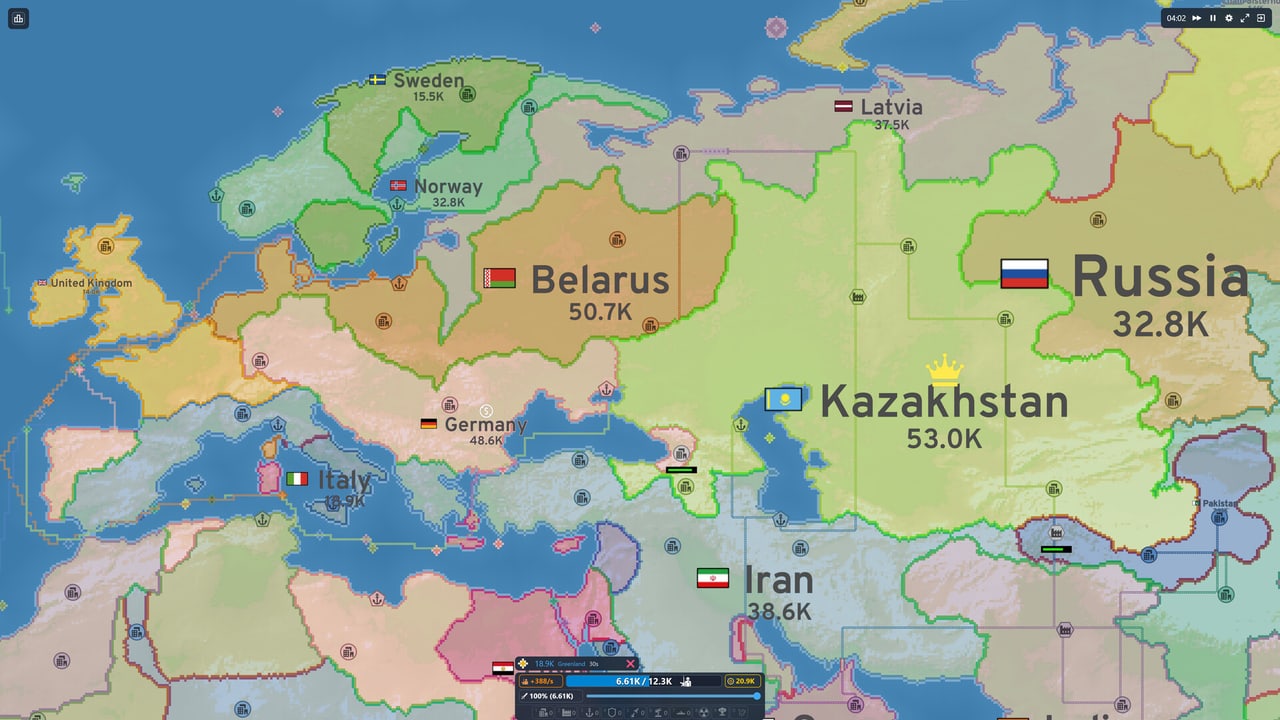
The Direct Answer: What Should You Do in Your First Match?
Your first OpenFront match is not a test of speed. It is a test of whether you can grow without creating a position that collapses the moment another player notices you.
Start in a compact area with room to expand, one useful coast, and as few exposed directions as possible. Claim nearby neutral land before competing for distant prizes.
Keep enough troops at home to make attacks expensive. Spend gold on a small, purposeful core instead of filling every tile with buildings as soon as each option becomes available.
Watch your borders more than the center of your territory. A quiet neighbor, a narrowing strip of neutral land, or a new coastal route can matter more than your total size.
During the opening, your job is to turn empty space into a stable economy. During the middle game, your job is to turn that economy into choices.
If you remember only one rule, remember this: grow until the next expansion would make your border harder to defend than the new land is worth.
What You Should Learn From One Match
A good first match does not have to end in victory. It should leave you able to explain why your position grew, stalled, or failed.
By the end of the session, you should understand how your spawn affected your borders, how troop availability limited attacks, and how expansion changed your economy.
You should also recognize the difference between neutral growth and war. Neutral land is usually an opening resource. Enemy land is a political and military commitment.
Before You Queue: Make the First Match Easy to Read
For learning, choose a match where the map will remain readable. A crowded lobby produces more action, but it gives you less time to connect causes with outcomes.
Single Player is a useful first environment because you can pause your attention on the interface and compare choices without the social pressure of a live lobby.
Free-for-all is the clearest starting mode. It exposes the normal relationship between expansion, borders, economy, diplomacy, and opportunistic conflict.
Team modes add coordination duties. Special modes can change the value of land, buildings, or timing. Learn the standard loop before learning the exceptions.
Recommended Learning Settings
Choose a familiar map with recognizable coastlines and several broad land areas. Familiar geography reduces the mental cost of reading distance and direction.
Use a moderate number of opponents. Too few can make reckless expansion look safe. Too many can turn the opening into a border lottery.
Set bots to a difficulty that applies pressure without forcing perfect reactions.
You may disable nuclear weapons for the first match. That keeps the late-game threat set smaller while you learn troops, gold, borders, ports, and basic defense.
Know the Four Things You Will Watch
Before spawning, locate the troop display. Troops are both your ability to act and a major signal of how expensive you look to attack.
Locate gold and income information. Gold pays for infrastructure, but unused gold can also represent flexibility when the map changes.
Locate the attack ratio control. It changes how much of your available force you commit when attacking, so it is a risk control rather than a simple power slider.
Locate the build controls and learn how the interface distinguishes your land, neutral land, enemy land, and water.
Spawn Point Decisions: Choose a Position, Not a Flag
The spawn screen tempts beginners to choose a favorite country or recognizable flag. Geography matters more than identity.
Your first location should offer neutral land, a compact route outward, and a limited number of likely contact points.
Count Expansion Directions
Look at how many directions allow practical land growth. A broad interior may offer many tiles, but it may also create contact with several opponents.
A peninsula reduces land approaches, yet it can trap you if another player blocks the exit. A coast creates naval options, yet too much coastline can demand attention later.
An island may look protected, but isolation can limit early land growth and make ports more important.
Prefer a spawn with at least one generous neutral route and one fallback route.
Look for Border Shape Before Border Size
A short border is easier to monitor than a long, irregular border. Every bend can become another place where pressure is hard to read.
Compact territory lets troops and attention serve more than one direction. Long tendrils give you more color on the map but often less practical security.
Imagine the shape after your first few expansions, not just the starting point.
Evaluate Nearby Players
Do not choose a spawn in isolation. Watch where other flags appear and identify who may compete for the same neutral space.
Two players can start near each other without fighting if they have separate expansion lanes. A more distant player can still become a direct rival if both routes converge.
Use Coastlines Deliberately
Coastal access is valuable because it can support ports, trade, and later naval movement. It is not automatically better than an inland start.
A useful coast is one you can hold without stretching your land border. A decorative strip of coastline reached through a thin corridor may cost more security than it provides.
The First 60 Seconds: Establish Control Before Speed
The first minute feels fast because every player is claiming space. Your goal is not to click the most. Your goal is to spend each action on land that improves the whole position.
Step 1: Confirm the Map Around You
Once the match begins, take a brief scan before issuing repeated attacks. Confirm which players actually spawned nearby and whether your expected lane remains open.
Step 2: Make a Short First Expansion
Expand into adjacent neutral land that widens your core. Favor moves that fill space beside your territory instead of projecting a narrow finger outward.
Short attacks are easier to evaluate. They reveal how troop commitment, recovery, and land gain feel under the current settings.
Step 3: Tune the Attack Ratio
The attack ratio determines how much force an attack can commit. A high setting can accelerate a push, but it can leave less behind and make mistakes more expensive.
A low setting preserves more troops, yet it may require extra attacks and time. The best setting depends on the target and your current reserve.
For neutral expansion, use a moderate commitment and watch the result. Adjust from evidence instead of copying a permanent number.
Step 4: Fill Behind the Leading Edge
As you expand, look for neutral gaps near your core. Filling them can shorten borders and prevent awkward pockets.
Beginners often chase the outermost tile because it looks like progress. The land behind that tip may be more valuable because it turns a corridor into a block.
Step 5: Read Your Neighbors
Notice which neighbor expands toward you, which moves away, and which grows in several directions at once.
A player moving away may be offering an informal boundary. A player racing directly at your lane may be signaling competition.
Step 6: Preserve a Reserve
Your troop count should not repeatedly fall to a level that makes every neighbor stronger by comparison.
A reserve gives you recovery time, discourages opportunistic attacks, and lets you respond when a neutral lane closes unexpectedly.
The First Three Minutes: Turn a Spawn Into a Position
After the first rush, the game changes from claiming obvious land to choosing what kind of position you want to become.
Minute One to Two: Complete the Core
Fill nearby neutral space that makes your territory more compact. A complete core gives you safer building locations and fewer visual distractions.
Avoid crossing a narrow chokepoint merely because land exists beyond it. First decide whether you are willing to defend the connection.
Minute Two to Three: Choose a Development Path
By now, you should know whether the position is coastal, inland, crowded, isolated, or exposed.
That description should guide your first spending. A coastal position may value trade access. A crowded position may need border stability before economic ambition.
Do not build simply because the icon is available. Every purchase should answer a current problem or support a clear next phase.
When to Pause Expansion
Pause when troop recovery no longer catches up with your attack rhythm.
Pause when your next move creates a new neighbor.
Pause when a nearby player changes direction toward you.
Pause when you are close to an important purchase.
Pausing does not surrender initiative. It converts early land into a position capable of acting again.
Economy and Population: Grow the Engine Behind the Map
Territory Is Productive Only When You Can Hold It
Expansion can improve your long-term potential, but the benefit is not free. Attacks consume troops and new borders create risk.
The best neutral expansion usually adds usable area while keeping the border short.
Troops Are a Budget, Not Just an Army
Every attack spends part of your ability to defend and respond. That makes troops a budget shared by expansion, war, deterrence, and recovery.
Do not compare troop counts in isolation. Consider border length, neighbor strength, active threats, and what each player is currently spending.
Gold Represents Future Choices
Gold can become buildings, upgrades, trade infrastructure, or later military tools. Spending it immediately removes the option to use it for something else.
Before spending, name the benefit in one sentence. Keep some flexibility when the map is uncertain.
A Basic Building Order for a Stable First Position
Stage 0: Build Nothing Until the Core Is Safe
Your first building decision may be to wait. A structure placed during uncontrolled expansion can end up on a border you did not intend to keep.
Stage 1: Add a City to a Protected Core
A City is a common first development choice because it supports population and troop capacity.
Place it inside the territory rather than on the newest edge. The safest tile is one that is unlikely to become the first target in a border fight.
Stage 2: Add a Port When the Coast Has a Job
A Port matters when coastal access can support trade or future naval movement. It is not mandatory merely because your territory touches water.
Choose a coast connected to the main body of your territory. Avoid placing valuable infrastructure at the end of a thin coastal corridor.
Stage 3: Use a Defense Post on a Real Approach
A Defense Post should strengthen a border that opponents are likely to use. It should not decorate a peaceful interior.
Good candidates include chokepoints, narrow approaches, and the border facing a neighbor with limited alternatives.
Diplomacy and Alliances: Reduce the Number of Problems You Face
The most useful ally is often close enough to share a threat but not so entangled with your border that both sides want the same land.
When your expansion meets another player, slow down. The neutral race has become a relationship.
Compare reserves, border shape, alternate routes, and the likely value of conflict. A small strip of land is rarely worth starting a war that stops all development.
Common Beginner Mistakes
Expanding too far: The most common beginner failure is confusing a larger color on the map with a stronger position. Grow until the next expansion would make your border harder to defend than the new land is worth.
Ignoring the reserve: Expansion that empties the army invites counterattack. Always leave enough troops to deter the strongest plausible neighbor.
Building too early: A structure placed during uncontrolled expansion can end up on a border you did not intend to keep. Wait until you have an interior area, a recovering troop reserve, and a clear view of the nearest threats.
Treating infrastructure as victory: Cities and Ports are tools for winning. They are not wins themselves. If your infrastructure does not translate into land or staying power, reconsider the build order.
Next reading
For the underlying systems, keep the Game Mechanics hub open in another tab. For faster execution, use the hotkeys guide. For terrain decisions, use the map strategy guide.
Frequently Asked Questions
Quick answers to the most common OpenFront questions.
What is the most important thing to do in my first match?
Grow until the next expansion would make your border harder to defend than the new land is worth. This single rule prevents the most common beginner failure of confusing map size with actual strength.
Should I attack other players in my first match?
Focus on neutral expansion first. Enemy land is a political and military commitment. Wait until you have a stable core and understand your borders before engaging other players.
What should I build first?
Nothing until the core is safe. Then a City is usually the first purchase, placed in a protected interior location away from the front line.
How many troops should I keep in reserve?
Enough to deter the strongest plausible neighbor. If you cannot explain what the next attack gains, wait. Recovery is an action when it improves the next decision.
Should I pick a coastal spawn or inland spawn?
Coastal access is valuable but not automatically better. A useful coast is one you can hold without stretching your land border. An island may look protected but isolation limits early land growth.