OpenFront Transport Landings
COAST check: choose a coast, read opposition, set allocation, arrange screen, name termination.
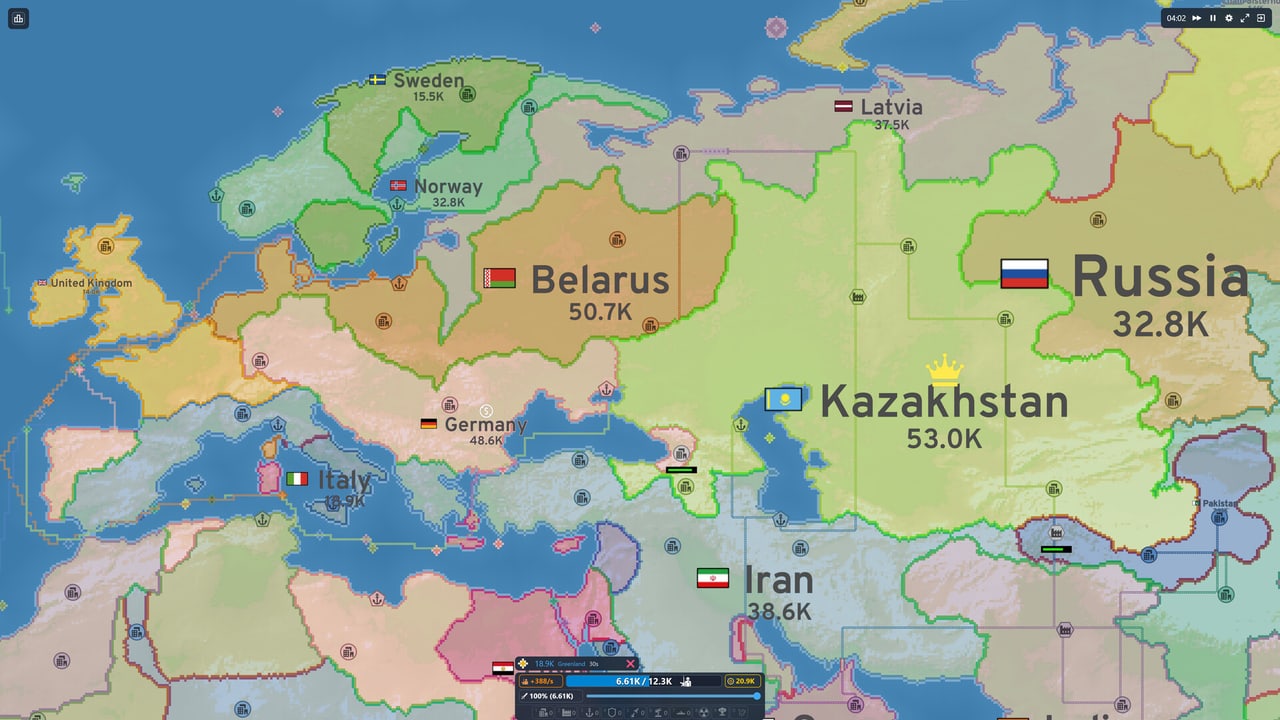
Run COAST before you launch a Transport Ship
Choose a reachable Coast, identify Opposition, set the troop Allocation, arrange a Warship Screen, and name the Termination condition. Launch only when the landing opens a useful second attack and you can still defend home. A Transport Ship costs no Gold, but it removes troops immediately, exposes them at sea, and normally loses 25% when recalled.
That five-part COAST check is the difference between a naval shortcut and a floating reserve that never returns intact.
The COAST Check Table
| COAST check | Evidence to see before launch | Go signal | Stop signal |
|---|---|---|---|
| Coast | Same connected water and a useful landing edge | Beach creates a second route or captures an exposed asset | Click produces no boat, route ends at an irrelevant shore |
| Opposition | Enemy Warships, coastal troops, nearby third parties | Escort can enter first and land force can survive contact | Unscreened Warship patrol or defender can concentrate before arrival |
| Allocation | Current troops, slider, home reserve, active boat count | Named wave budget leaves the home front stable | Third boat is merely replacing judgment with more exposure |
| Screen | Friendly Warship patrol lane and timing | Escort controls the final approach before transport arrives | Escort is repairing, outside the water component, or chasing trade traffic |
| Termination | A visible cancel or reinforce rule | Beachhead takes a second tile and receives land support | First wave stalls, route changes, or home reserve breaks |
Choose a reachable coast
A Transport command begins with the territory you click, but it does not promise to land on that exact interior tile. The path logic first looks for a reachable shore owned by the clicked target, then looks for your closest source shore that can reach that destination through water.
Start the Coast check at water-component scale. Trace the sea, lake, or river-like channel between your territory and the target. A narrow land bridge can divide two bodies of water even when they appear visually close.
Use a three-tile landing test:
- Tile one is the beach the boat will conquer or attack
- Tile two is the next territory needed to make the beach more than a dot
- Tile three is the route back to friendly support or toward the operation’s objective
Read opposition before you put troops on the water
Opposition has three layers: interception at sea, resistance on the beach, and exploitation by a third party. The sea layer deserves priority because a Transport Ship is not a fighting ship. A released Warship searches for hostile units and gives Transport Ships its highest target priority.
Draw an imaginary 130-tile danger band around the final approach. If your Transport must enter that band before your escort can contest it, assume the defender gets the first useful response.
Allocate waves from a shrinking reserve
The attack-ratio percentage applies to the troops available when that individual command is sent. The client multiplies current troops by the displayed ratio. The boat then removes that force from the player immediately.
Suppose you have 900,000 troops, the slider shows 20%, no growth occurs during the clicks, and all three Transport slots are free:
- Boat one takes 180,000, leaves 720,000
- Boat two takes 144,000, leaves 576,000
- Boat three takes 115,200, leaves 460,800
Set the reserve first, then derive the wave cap. If the home coast needs 500,000 to survive the strongest plausible neighbor attack, the third boat is forbidden.
Screen the crossing
Screening is a sequence, not a unit count. The escort must arrive in the contested lane before the Transport, hold a patrol point that covers the likely interceptor path, and remain healthy enough to stay there until the boat passes.
Build the route in three timed zones:
- Departure zone: your source shore and the first stretch of water
- Transit zone: open water where you can still cancel and return
- Terminal zone: the final 130 tiles around likely enemy Warship positions and the landing shore
Cancel deliberately
Use four termination triggers:
- Interception: enemy Warship enters the terminal lane before your screen controls it
- Ownership change: the chosen beach is no longer the target that made the operation useful
- Home breach: a neighbor attacks and the remaining reserve falls below its floor
- Bridgehead failure: the first landing cannot take a second useful tile or connect
A normal manual cancel marks the active Transport as retreating. When it completes that return, 25% of the troops aboard die and 75% rejoin the owner.
Key facts
- Maximum of three active Transport Ships
- Transport movement is one water tile per tick
- Warships prioritize Transport Ships over other targets
- A boat carrying 180,000 normally returns about 135,000 after a 25% retreat loss
- The game can reject a launch before a boat exists when the target is yourself, the relationship does not allow an attack, no reachable target shore exists, or all three slots are occupied
For island defense and naval strategy, read the Naval guide. For fleet composition, read the Warship veterancy guide. For team roles, read the Team Games guide.
Frequently Asked Questions
Quick answers to the most common OpenFront questions.
How many Transport Ships can I have active?
You can have up to three active Transport Ships at once in v0.33.14. Each one removes troops immediately when launched.
What happens if I recall a Transport Ship?
A normal manual recall makes the boat seek a friendly shore. When it completes the return, 25% of the troops aboard die and 75% rejoin you.
Why did my Transport command do nothing?
The game can reject a launch when the target is yourself, no reachable shore exists, or all three slots are occupied. Check the outgoing-boat panel and water connectivity.
How do I protect a Transport from enemy Warships?
Assign your Warship a patrol point whose 130-tile targeting reach overlaps the route section where an enemy interceptor could approach. Lead with the escort.
How does the attack ratio affect wave size?
The percentage applies to troops available at the moment each command is sent. Repeated percentage launches naturally become smaller unless growth replaces the difference.